
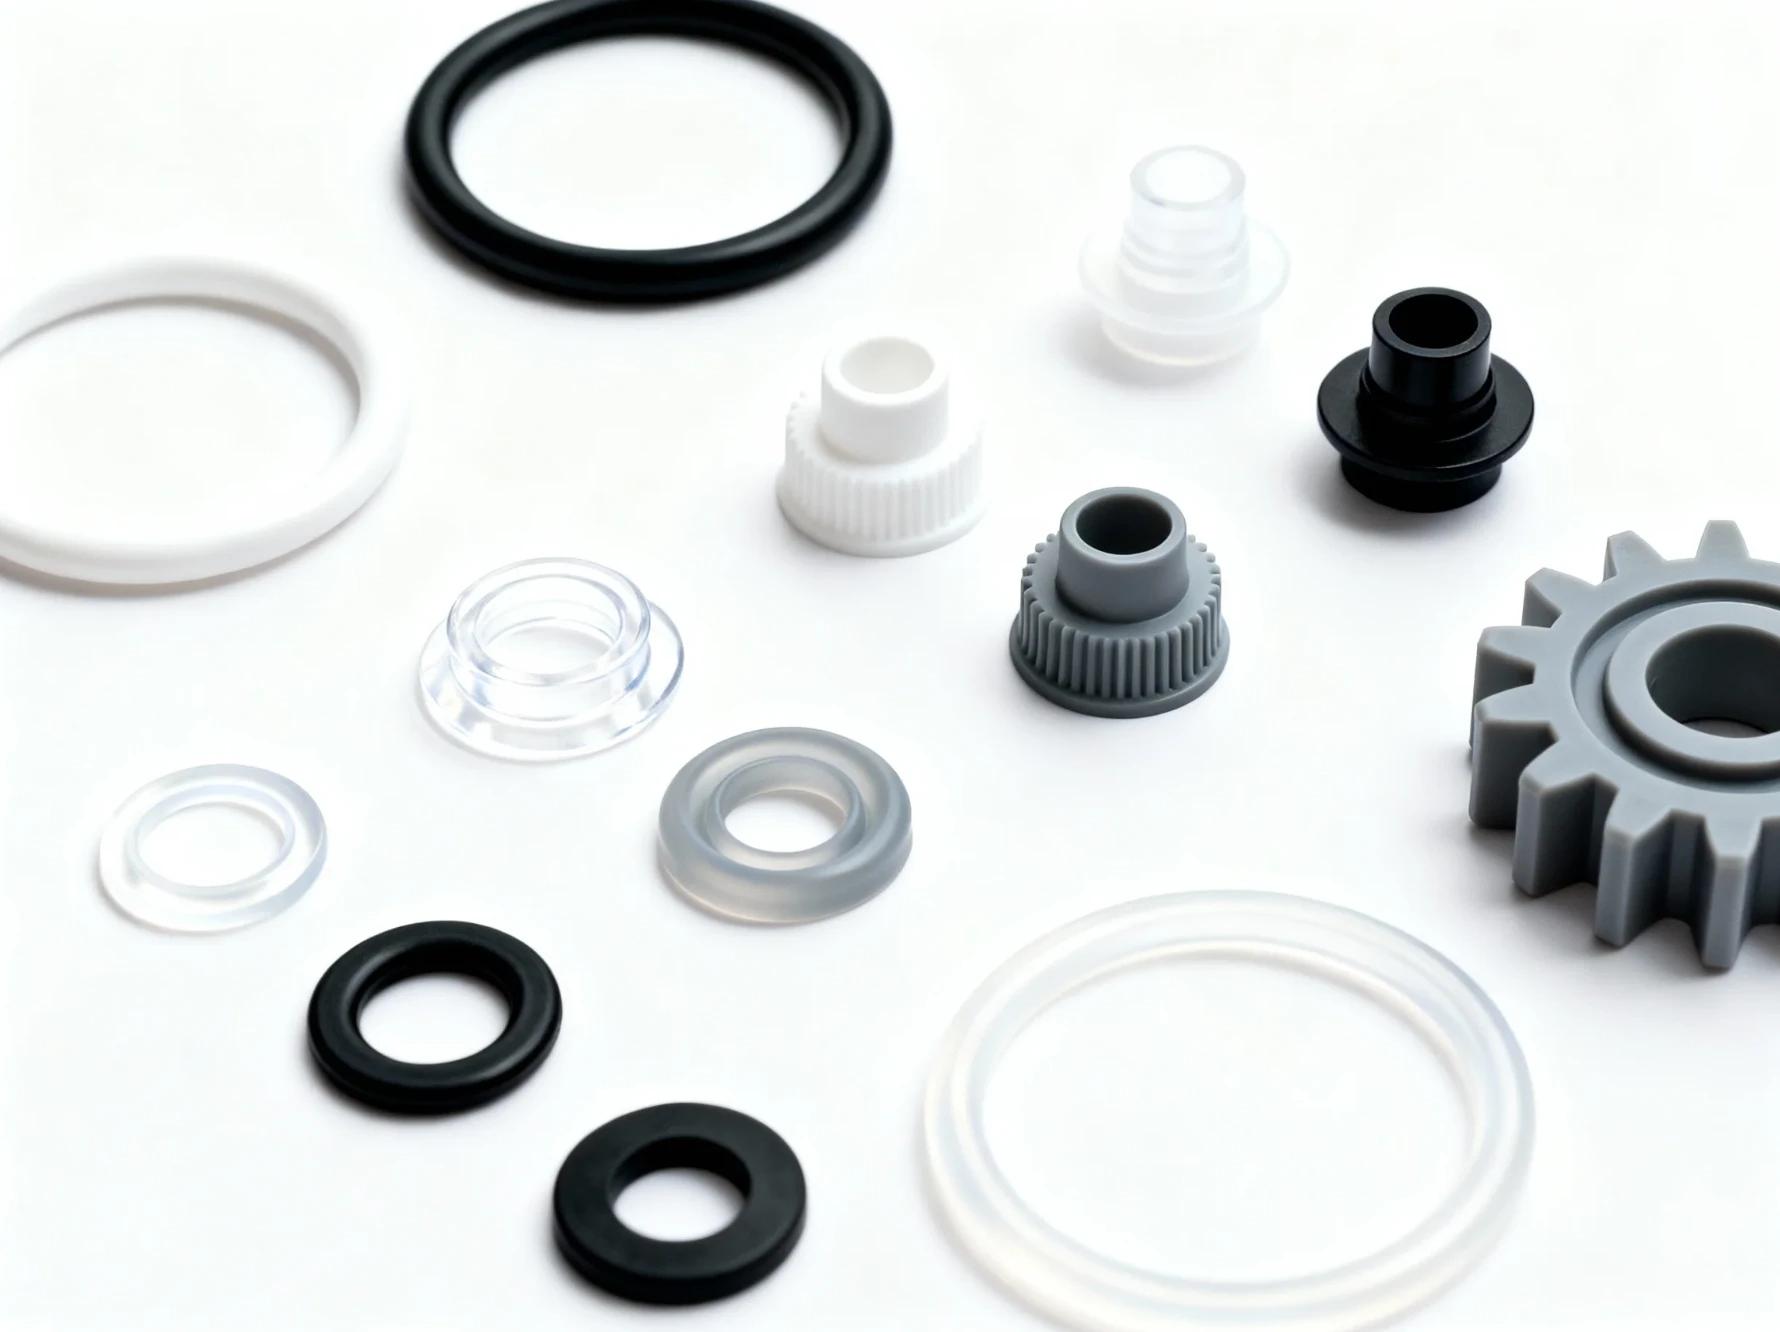
Low Viscosity Silicone or LSR is made of premium grade silicone and is cured with platinum. It has high thermal stability (-65° C) to (250° C), is resistant to all chemicals and acts as a perfect electrical insulating product. LSR products have many industrial, medical, commercial and consumer-oriented applications. Unlike other types of silicone, i.e., HCR or RTV silicone, LSR cures with the use of a platinum catalyst and remains liquid until it is cured. This allows for consistent, repeatable and faster production cycles for products made of LSR, due to the characteristics of the clear curing agent in comparison to other types of silicone.
LSR Injection Molding Process
The manufacturing of LSR by injection molding is the standard, advanced process to produce bonded materials. This process involves mixing two liquid hardeners (parts A and B) in separate barrels until needed and mixed in a static mixer. Once mixed, the exact amount of mixture is then injected using a piston syringe into an oven-like cavity for vulcanisation (curing), creating a solid bonded elastomer. Additionally, current technology has developed modern fully automated operations for LSR Injection Moulding; essentially, many times computer controls are used to dispense the hardener parts, as well as use the same systems for dispensing and removing from the mold cavity created. For optimal results, specific measured pressures (often between 100 and 1000 bar, or approximately between 1500 to 2000 psi), cooler background temperatures in a range of approx. 170 to 200 degrees Celsius (or approx. 340 to 390 degrees F), and timing of curing (usually between 30 to 180 seconds) is taken into account. Each of these indicated parameters must be monitored or controlled in order to manufacture parts of excellent quality repeatedly.
Equipment and Tooling
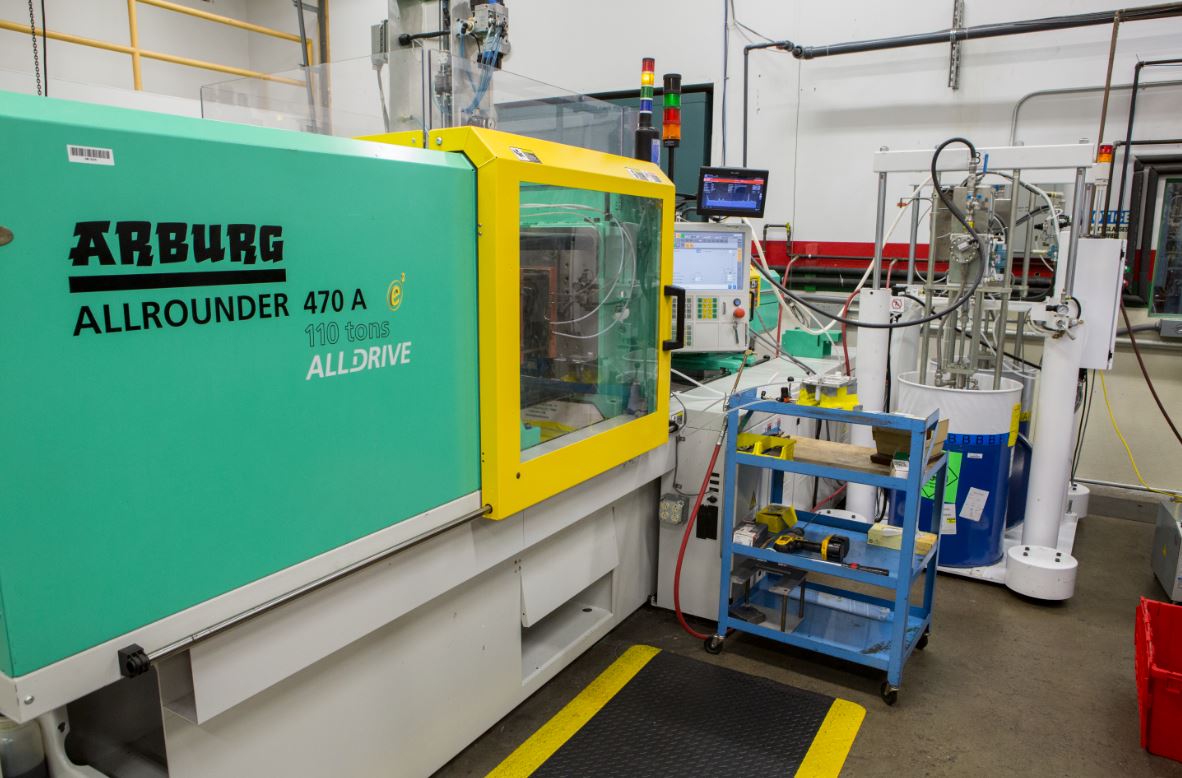
LSR injection molding requires specialized equipment. The molding machine has separate tanks or drums for the two LSR components, which are kept cool to prevent premature curing. A metering unit pumps the components in the exact ratio into a static mixer, where a platinum catalyst initiates crosslinking. The mixed LSR is then injected through a nozzle into a clamped mold. LSR molds are typically heated (often via oil or electric heaters) to facilitate rapid curing, and they are designed for tight precision since the liquid material can fill very fine details. Tooling can range from simple single-cavity molds for prototypes to complex multi-cavity molds with hot runner systems for high-volume production. Due to LSR’s low viscosity and tendency to flash, molds often include features like sharp edges, vacuum venting, and precise alignment to manage material flow and minimize flash.
Process Steps
In the process of LSR injection molding, the following basic principles apply:
- Material Preparation: The two components of LSR are stored in separate containers at low temperatures to maintain them in a liquid and stable state until they are mixed.
- Metering and Mixing: Precision metering pumps meter out Part A and Part B of the proper ratio into a static mixer, where the two components are mixed together and the platinum catalyst is evenly distributed, causing the cure to begin when the two components meet. - Injection: The mixed LSR is injected under high pressure into the mold cavity. The high pressure (which is commonly between 1500–2000 psi) allows the entire cavity, including thin sections and intricate detail, to be completely filled before curing takes place.
- Curing (Vulcanization): Once at rest in the cavity of the mold, the LSR is heated up (by the temperature of the mold) to speed up the platinum-catalyzed crosslinking. The LSR changes from a liquid to a solid elastomer within seconds to minutes, depending on the thickness of the part and the temperature of the mold. - Cooling and Ejection: Once the LSR has cured, the part may be briefly cooled in order to completely solidify. The mold will be opened and the part will be removed from the mold. Because of the release characteristics of LSRs, it's usually easy to eject parts from the mold without the use of draft angles or release agents; in fact, many manufacturers use robotic grippers or air blasts to help remove the part without damaging it.
- Post-Processing (if needed): LSR parts typically come out of the mold ready to use with minimal finishing. Any excess flash (thin excess material) is usually trimmed or deflashed, either manually or via automated methods (like cryogenic deflashing). Additional post-processes (like printing, bonding, or assembly) may be performed as required.
Advantages and Considerations
LSR injection molding offers numerous advantages that make it the preferred method for many applications:
- High Precision and Consistency: The liquid material fills the mold completely, producing parts with tight tolerances (as tight as ±0.05 mm) and consistent quality shot after shot. Air entrapment and short shots are rare, unlike in compression molding.
- Complex Geometries: LSR’s low viscosity allows it to flow into very fine details, thin walls, and undercuts that are difficult to achieve with other materials or processes. This enables complex part designs (such as micro-features or intricate seals) to be molded in one piece.
- Fast Cycle Times: LSR cures very quickly at elevated mold temperatures, so cycle times are short (typically 30–180 seconds). This makes LSR injection molding highly efficient for medium to high volume production, especially with multi-cavity molds.
- Material Versatility: A wide range of LSR formulations are available, including general-purpose, medical-grade, food-grade, electrically conductive, self-adhesive, and optically clear grades. This allows selection of a material with the exact properties needed for a given application (e.g. biocompatibility for medical devices, or high tear strength for industrial seals).
- Automation and Cleanliness: The process is fully automated and clean-room compatible. LSR does not produce emissions or VOCs during curing, making it suitable for sensitive environments like medical device manufacturing.
- Reduced Secondary Operations: LSR parts often require little to no post-processing. The excellent surface finish and dimensional accuracy eliminate the need for extensive trimming, cleaning, or finishing, saving time and cost.
As beneficial as LSR injection molding can be, it has some disadvantages. First, LSR injection molding's cost for tooling is high because it requires extremely precise tools. Second, due to the nature of the material, it is necessary to maintain precise control of process parameters such as temperature and pressure. Finally, LSR has a high shrinkage rate and it can easily flash if not properly sealed during injection, requiring careful monitoring of mold design and setup. Since LSR is a thermoset material, it does not have the same melt/recycle/reuse capabilities as thermoplastics, therefore any extra material produced outside of specifications must be discarded or incinerated. However, on the whole, when manufactured in bulk quantities, parts produced through LSR injection molding are the most cost effective option available, and they produce higher quality performance than any other silicone tooling method.
Compression Molding of LSR
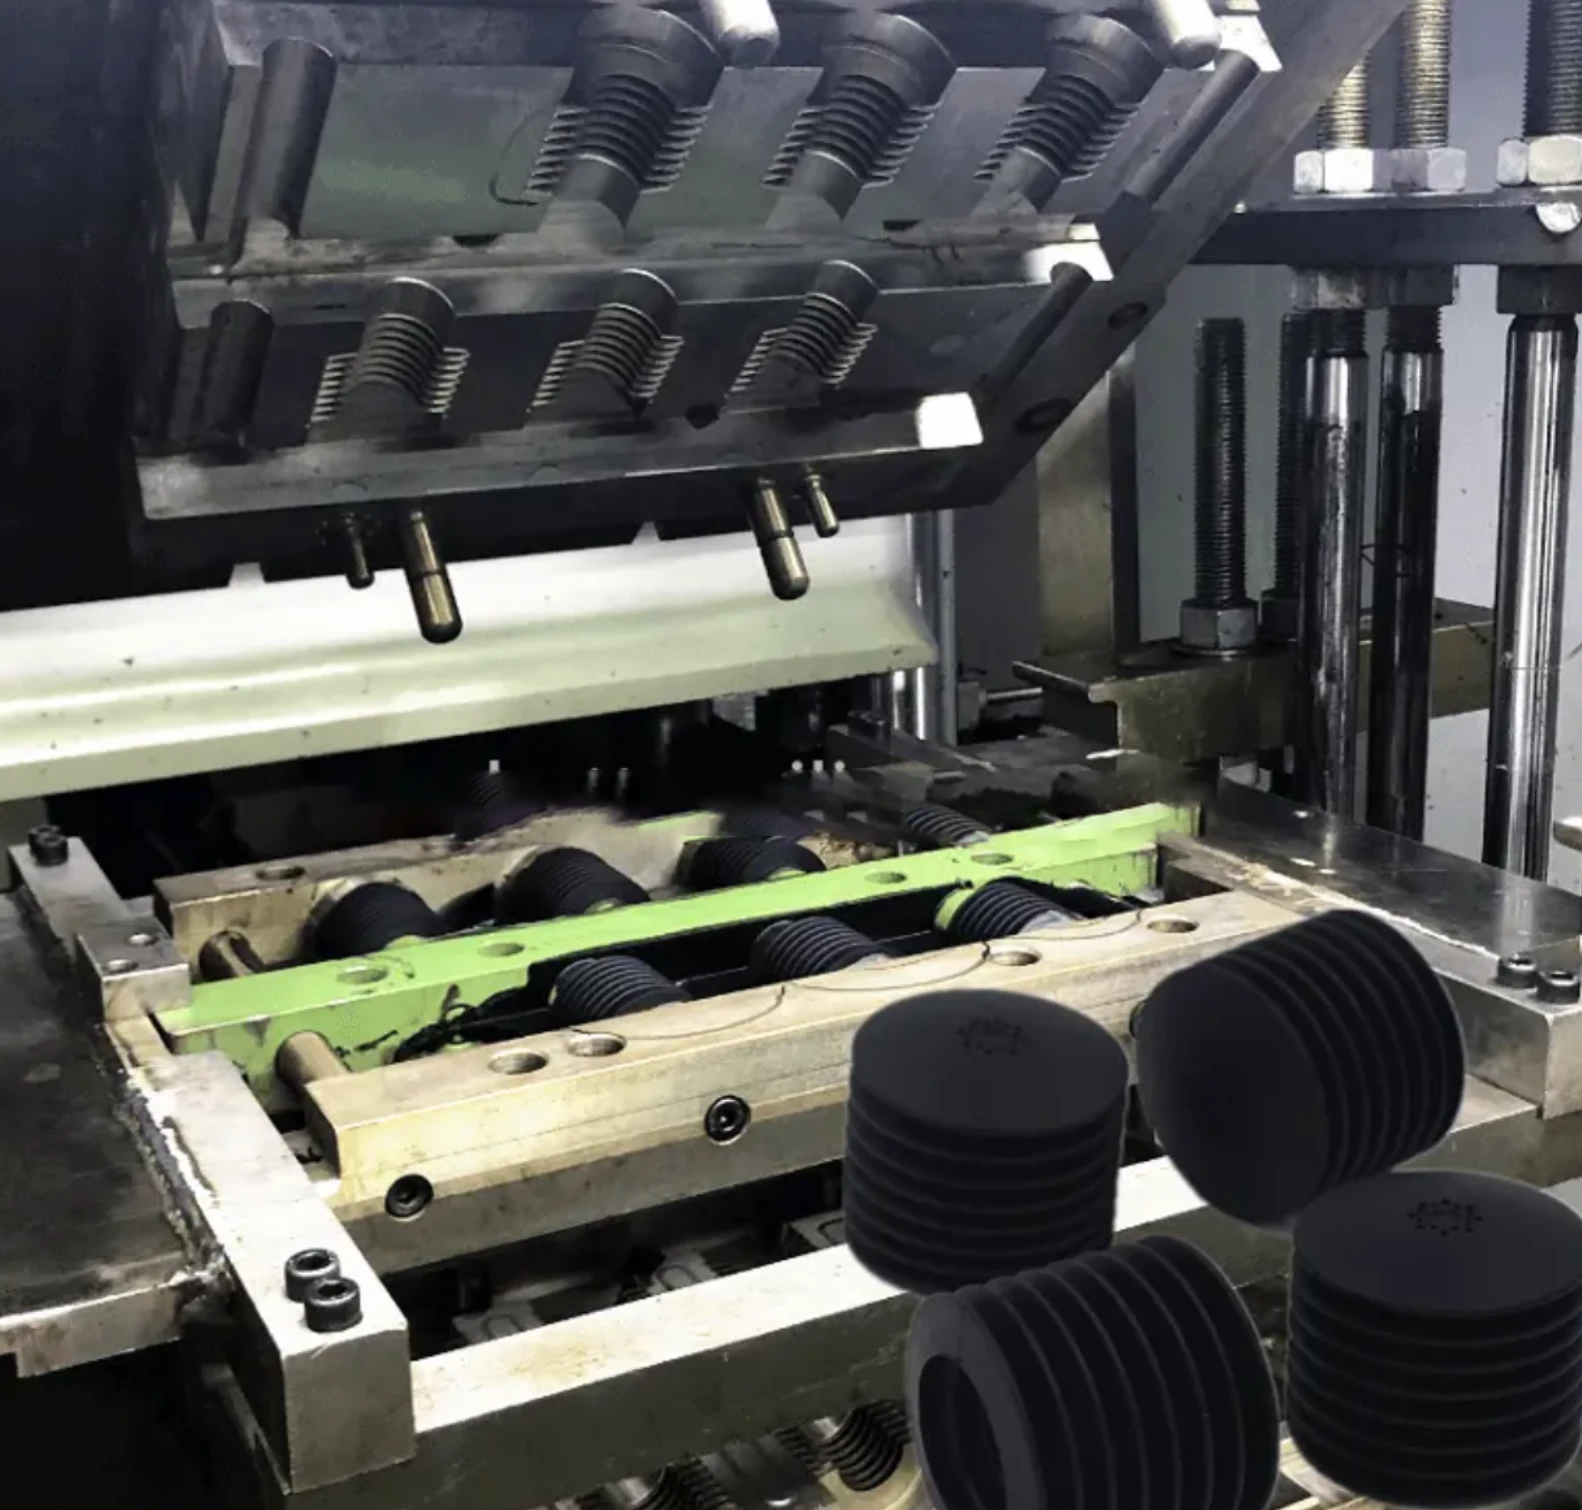
Compression molding is one of the oldest methods of forming rubber and silicone with less desire than what was once referred to as cold molding. It is now done using compression-molded liquid silicone rubber. Premeasured amounts of material, referred to as "biscuit", are loaded into a mold cavity without tooling. To form and cure the rubber into finished product, a hydraulic press apply heat and pressure to the biscuit while in the press. Compression molding process is generally used for lower and intermediate volume manufacturing, large, bulky parts, and/or simple shapes. Compression is also a self-contained process (one complete set of parts produced each cycle), whereas injection molding is an automated, self-contained process that produces parts using moving tools.
Equipment and Tooling
The compression molding equipment is a fairly simple piece of machinery made up of a heated hydraulic press and a two-part mould (cavity and core) capable of opening up and closing. The mould is heated (often using either an oil or electric heater) to reach the curing temperature of silicone (for LSR, this typically ranges from about 150°- 200°C or approximately 300°-390°F). Unlike injection moulding, there isn't any type of screw or injector associated with the process; however, there is a measured amount of material, which can either be put in place by hand or robotically. The hydraulic press then clamps down on the mould, applying the necessary pressure to compress the material to fill the cavity shape. After the curing time has passed, the hydraulic press opens the mould so the parts can be removed.
Process Steps
The compression molding cycle generally involves these steps:
- Material Preparation: The silicone material is prepared. For LSR, this could mean pre-mixing the two components (if not using a pre-mixed batch) and forming a preform of the appropriate size. For HCR (high-consistency rubber) or RTV silicone, a sheet or preform is cut to size.
- Loading the Mold: The mold is opened, and the preform is placed into the cavity. In some cases, multiple preforms may be placed if the mold has multiple cavities.
- Mold Closure and Compression: The press closes the mold, applying pressure to distribute the material evenly and fill the cavity. The pressure also forces out any trapped air. For LSR, the pressure is usually much lower than in injection molding (often a few hundred psi) since the material is already a viscous liquid and flows easily.
- Curing: While the mold is closed and under pressure, the material is heated (by the mold) to initiate vulcanization. The cure time can range from seconds to several minutes depending on the material and part thickness. In compression molding of LSR, cure times are typically longer than in injection molding (on the order of 1–15 minutes per cycle) because the material starts cold and must heat up through conduction.
- Ejection: After curing, the mold is opened and the parts are ejected. Often, parts will stick to the core or cavity and may require manual removal or the use of ejector pins.
- Post-Processing: Parts may need to be trimmed of flash (excess material that squeezed out around the part edges). Compression molded parts can have more pronounced flash lines due to the manual placement and lower precision, so deflashing or trimming steps are common. Additional operations like machining or surface finishing may be performed if needed.
Advantages and Considerations
Compression molding offers some distinct advantages, especially in certain scenarios:
- Low Tooling Cost: Compression molds are generally simpler and cheaper to build than injection molds. They don’t require complex runners, gates, or heating/cooling channels in the same way, making them cost-effective for small production runs or prototypes.
- Material Versatility: Compression molding can handle a wide range of silicone materials, including both LSR and HCR. It is particularly useful for very high-consistency or highly filled rubbers that are difficult to inject. It is also compatible with additives like fibers or particles that might be damaged in an injection screw.
- Large Parts and Simple Shapes: It is well-suited for producing large parts (like gaskets, seals, or sheet components) or parts with very simple geometries that don’t require high precision. Compression molding can produce parts that are “as strong, if not stronger” than injection molded parts in terms of tear strength and chemical resistance, especially when using high-performance silicone compounds.
- Flexibility: The process is flexible – you can easily change materials or formulations between batches without extensive re-configuration. This makes it useful for R&D or low-volume custom production.
However, compression molding has notable limitations compared to injection molding:
- Longer Cycle Times: Each cycle in compression molding takes longer (typically 2–5 minutes per cycle, sometimes more for very thick parts) because the material must heat up and cure in place. This results in slower production speeds and higher per-part cost for high volumes.
- Lower Precision and Consistency: It is harder to achieve tight tolerances and consistent dimensions with compression molding. The manual placement of material and the reliance on pressure to fill the mold can lead to variations in part thickness and flash. Uniformity from part to part is generally lower than in injection molding.
- Higher Labor Requirements: Compression molding often requires an operator to load the material and sometimes to remove parts. Although automation can be used, it is inherently less automated than injection molding, which can increase labor costs and introduce variability.
- Design Constraints: Complex geometries with fine details or undercuts are difficult to produce by compression molding. The material may not flow into tight features as readily, and ejection can be challenging without draft angles or ejector systems.
In summary, compression molding is a viable method for LSR when the part design is relatively simple, production volumes are low, or the material is not easily injectable. It can yield high-quality parts (especially in terms of mechanical properties) at a lower tooling cost, but it sacrifices the speed and precision of injection molding. For high-volume, complex, or tightly toleranced parts, injection molding is usually the preferred choice.
Transfer Molding of Silicone Rubber
Transfer molding is a hybrid process that combines elements of compression molding and injection molding. It is often used for silicone rubber parts that require more precision than compression molding but may not justify full injection molding tooling. In transfer molding, the material (usually a pre-measured amount of silicone compound, which could be LSR pre-mixed or a high-consistency rubber compound) is placed in a pot or chamber above the mold. A plunger then compresses the material and transfers it through sprues and runners into the mold cavities. The material flows under pressure into the cavities and cures in the heated mold. Transfer molding is particularly useful for multi-cavity molds, as it can fill multiple cavities from one charge of material, and for parts that have moderate complexity or require consistent density.
Equipment and Tooling
A transfer molding press is similar to a compression press but with the addition of a transfer system. This system typically consists of a pot (where the raw material is loaded) and a plunger that pushes the material into the mold. The mold itself is heated and may have multiple cavities. Unlike compression molding, the material is not placed directly in the cavities; instead, it is injected through runners. Transfer molding equipment requires precise control of pressure and temperature, much like injection molding, but the pressures are generally lower (on the order of 1500–2500 psi) than in injection molding, and the material is injected from a pot rather than a screw. The tooling for transfer molding can be less complex than injection molds (no need for a full runner system with gates and sprues in the same way), but it is more involved than compression molds. The pot and plunger system must be designed to properly distribute the material to all cavities evenly.
Process Steps
The transfer molding process typically follows these steps:
- Material Preparation: The silicone compound is prepared. If using LSR, the two parts are mixed (or a pre-mixed batch is used) and formed into a preform of the right size to fit the pot. If using HCR, a sheet or block is cut to size. The material is usually at room temperature when loaded.
- Loading the Pot: The mold is open, and the pot (located above the mold cavities) is filled with the material. The pot may be filled by hand or via an automated feeder.
- Transfer and Injection: The press closes, and a plunger (or screw) pushes the material from the pot down through sprues and into the mold cavities. The pressure forces the material to flow and fill each cavity. This step is similar to injection molding in that the material is injected into the cavity, but it happens in a more direct compression manner.
- Curing: Once the cavities are filled, the mold remains closed while the material cures. Heat from the mold (often 150–200°C) accelerates the vulcanization of the silicone. The cure time can vary (often 30 seconds to a few minutes) depending on the material and part thickness.
- Ejection: After curing, the press opens the mold and the parts are ejected. As with compression molding, parts may require manual removal or the use of ejector systems, especially if they are complex in shape.
- Post-Processing: Parts may need to be trimmed of any flash or sprues that were attached. Because the material is transferred through runners, there may be small runner remnants that need to be removed. Additional finishing steps can be performed as needed.
Advantages and Considerations
Transfer molding offers some advantages that make it a good compromise between compression and injection molding:
- Better Precision than Compression: Since the material is injected into the cavity under pressure, it fills more completely and uniformly than in compression molding. This leads to tighter tolerances and less flash. Transfer molding can produce parts with more consistent density and fewer voids than compression molding.
- Moderate Tooling Cost: Transfer molds are generally simpler and cheaper than injection molds because they don’t require a full screw injection system or complex hot runner networks. However, they are more complex than compression molds due to the pot and runner system. This makes transfer molding a cost-effective option for medium volumes or for parts that don’t justify full injection tooling.
- Multi-Cavity Capability: Transfer molding can efficiently fill multiple cavities from one charge of material, which is useful for medium-to-high volume production. It is often used for parts like seals, O-rings, and gaskets where many identical parts are needed.
- Reduced Material Waste: Because the material is transferred from a pot into the cavities, there is less excess flash compared to compression molding (where the entire preform is compressed). This can reduce material waste and the need for extensive trimming.
Transfer molding does have some limitations compared to injection molding:
- Longer Cycle Times: While faster than compression molding, transfer molding cycles are typically longer than injection molding cycles. The material still needs to heat up from the transfer temperature and cure in the cavity, so cycle times of 30–60 seconds or more are common, which is slower than the 30–180 second cycles of injection molding.
- Lower Precision than Injection: Although more precise than compression molding, transfer molding may not achieve the extreme tolerances or detail replication of injection molding. The filling process is less controlled (no screw), and some variation can occur between cavities if the material distribution is not perfectly uniform.
- Design Complexity: Transfer molding is best suited for moderate complexity. It can handle multi-cavity molds and some detail, but very intricate geometries with thin walls or micro-features may still require injection molding to fill reliably.
- Material Constraints: Highly viscous or heavily filled materials can be difficult to transfer effectively. Transfer molding is most commonly used with medium-consistency silicones; very high-consistency rubbers might not flow well, and very low-viscosity LSR might be better suited to injection molding for optimal control.
In practice, transfer molding is often chosen for parts that are too complex for compression molding but produced in volumes that don’t warrant the expense of injection molding tooling. It provides a balance of reasonable precision, lower tooling cost, and flexibility for medium production runs.
Silicone Extrusion Process
Silicone extrusion is a continuous process used to create long, uniform profiles or shapes from silicone rubber. It is not typically used for LSR in the same way as molding, but rather for high-consistency silicone rubber (HCR) or silicone compounds that can be pumped. In extrusion, a silicone compound (often pre-mixed with a curing agent and any additives) is fed into an extruder – a heated barrel with a screw inside. The screw conveys the material forward, melting and pressurizing it, and forcing it through a die. The die imparts a specific cross-sectional shape to the silicone as it exits. The extruded profile then passes through a curing oven (or a series of heated rollers) where it is vulcanized, and finally it is cooled and cut to length. Extrusion is ideal for products like hoses, tubes, cords, seals, and gaskets that have a constant cross-section along their length.
Equipment and Tooling
The key equipment in silicone extrusion is the extruder, which consists of a barrel, a screw, and a die. The barrel is heated to melt or soften the silicone (the temperature profile is carefully controlled along the barrel length). The screw rotates to convey the material and build pressure. At the end of the barrel, the material passes through a die – a metal plate with a machined opening that defines the profile’s shape. For example, a die with a circular opening will extrude a tube or rod, while a more complex shape can produce a seal profile. The die may be water-cooled to quickly set the shape. After the die, the extrudate goes through a curing section – this could be a long oven (for batch curing) or, more commonly, a continuous conveyor oven or a series of heated rollers. The curing temperature and time are set based on the silicone formulation (often 150–200°C for several minutes). Finally, the cured profile is cooled (often by water bath or air) and then cut by a flying knife or saw to the desired length.
Process Steps
The silicone extrusion process typically involves these steps:
- Material Preparation: The silicone compound is prepared by mixing the base polymer with curing agents, pigments, and any additives. This is usually done in a separate mixer (like a Banbury mixer) to ensure uniformity. The compound is formed into strips or pellets that can be fed into the extruder.
- Feeding the Extruder: The compound is fed into the extruder’s hopper. A gravimetric or volumetric feeder may be used to control the feed rate. The material then enters the barrel.
- Melting and Conveying: Inside the barrel, the screw rotates and pushes the material forward. The barrel’s heat zones gradually heat the silicone, melting it and allowing it to flow. The screw’s design (flights, compression ratio, etc.) ensures the material is well mixed and pressurized.
- Extruding Through the Die: The molten silicone is forced through the die, taking on the shape of the die opening. The pressure at the die is high enough to push the material continuously through. The extrudate emerges as a continuous profile with the desired cross-section.
- Curing (Vulcanization): The extruded profile immediately enters a curing zone. In many cases, the profile passes through a tunnel oven where it is heated for a set time (e.g. 5–10 minutes at 200°C) to cure. Alternatively, it may pass between heated rollers or through a salt bath. The exact curing method depends on the equipment and the silicone’s cure system.
- Cooling and Cutting: After curing, the profile is cooled to solidify it. Cooling can be done by air or by passing through a water bath. The cooled profile is then cut to length. A flying knife or saw cuts the profile continuously as it moves, allowing for precise lengths. The cut pieces are collected or wound onto reels (if flexible).
- Post-Processing (if needed): Extruded parts may require additional operations such as printing, drilling, or end finishing. For example, hoses might need fittings attached, or profiles might be punched with holes. Quality inspections (dimensional checks, visual inspection for defects) are also performed.
Advantages and Considerations
Silicone extrusion offers several advantages for producing long, continuous silicone parts:
- Continuous Production: Unlike molding, which is batch-based, extrusion can run continuously for hours or days. This is ideal for making very long parts or for high-volume production of profile lengths.
- Complex Profiles: Extrusion can create intricate cross-sectional shapes (like seals with lips or multiple chambers) that would be difficult to mold in one piece. The die can be machined to produce almost any 2D shape.
- Material Versatility: A wide range of silicone compounds can be extruded, including those with reinforcing fillers, pigments, or additives. This allows the production of parts with specific properties (e.g. high tear strength, conductivity, etc.) in a continuous form.
- Cost-Effectiveness: For long runs of the same profile, extrusion is very economical. Once the tooling (die) is made, the variable cost per length is low, and the process can be highly automated.
- Quality: Extrusion can produce very uniform parts with consistent dimensions along the length. Modern extruders have precise controls for speed and temperature, resulting in tight control over the final product’s properties.
However, extrusion has some limitations and considerations:
- Part Geometry: Extrusion is limited to profiles with a constant cross-section. It cannot produce 3D shapes or parts with varying cross-sections or complex undercuts. For such parts, molding is necessary.
- Material Constraints: The material must be pumpable and have the right rheology for extrusion. Very high-consistency or highly filled rubbers can be difficult to extrude, as they may not flow smoothly or could cause excessive wear on the screw and die. LSR is generally not used in extrusion because it is too low-viscosity and designed for injection; instead, HCR or specially formulated extrusion compounds are used.
- Curing: The extrudate must be fully cured in a secondary operation. In-mold curing (like in injection molding) is not possible in extrusion, so a separate oven or curing system is needed. This adds to the equipment footprint and can limit the speed (the line speed is often limited by how fast the profile can be cured).
- Waste and Efficiency: There can be some waste during startup and shutdown (transitions between compounds), but in steady-state operation extrusion is very material-efficient since virtually all the material goes into product. However, any die design that creates scrap (for example, if a profile is cut from a sheet) would be less efficient.
In summary, silicone extrusion is an excellent processing method for producing long, continuous silicone products with complex cross-sections. It complements molding methods by enabling the manufacture of items like tubing, seals, and gaskets in a cost-effective, high-throughput manner. When the part design calls for a constant profile along its length, extrusion is often the optimal choice.
Calendering of Silicone Rubber
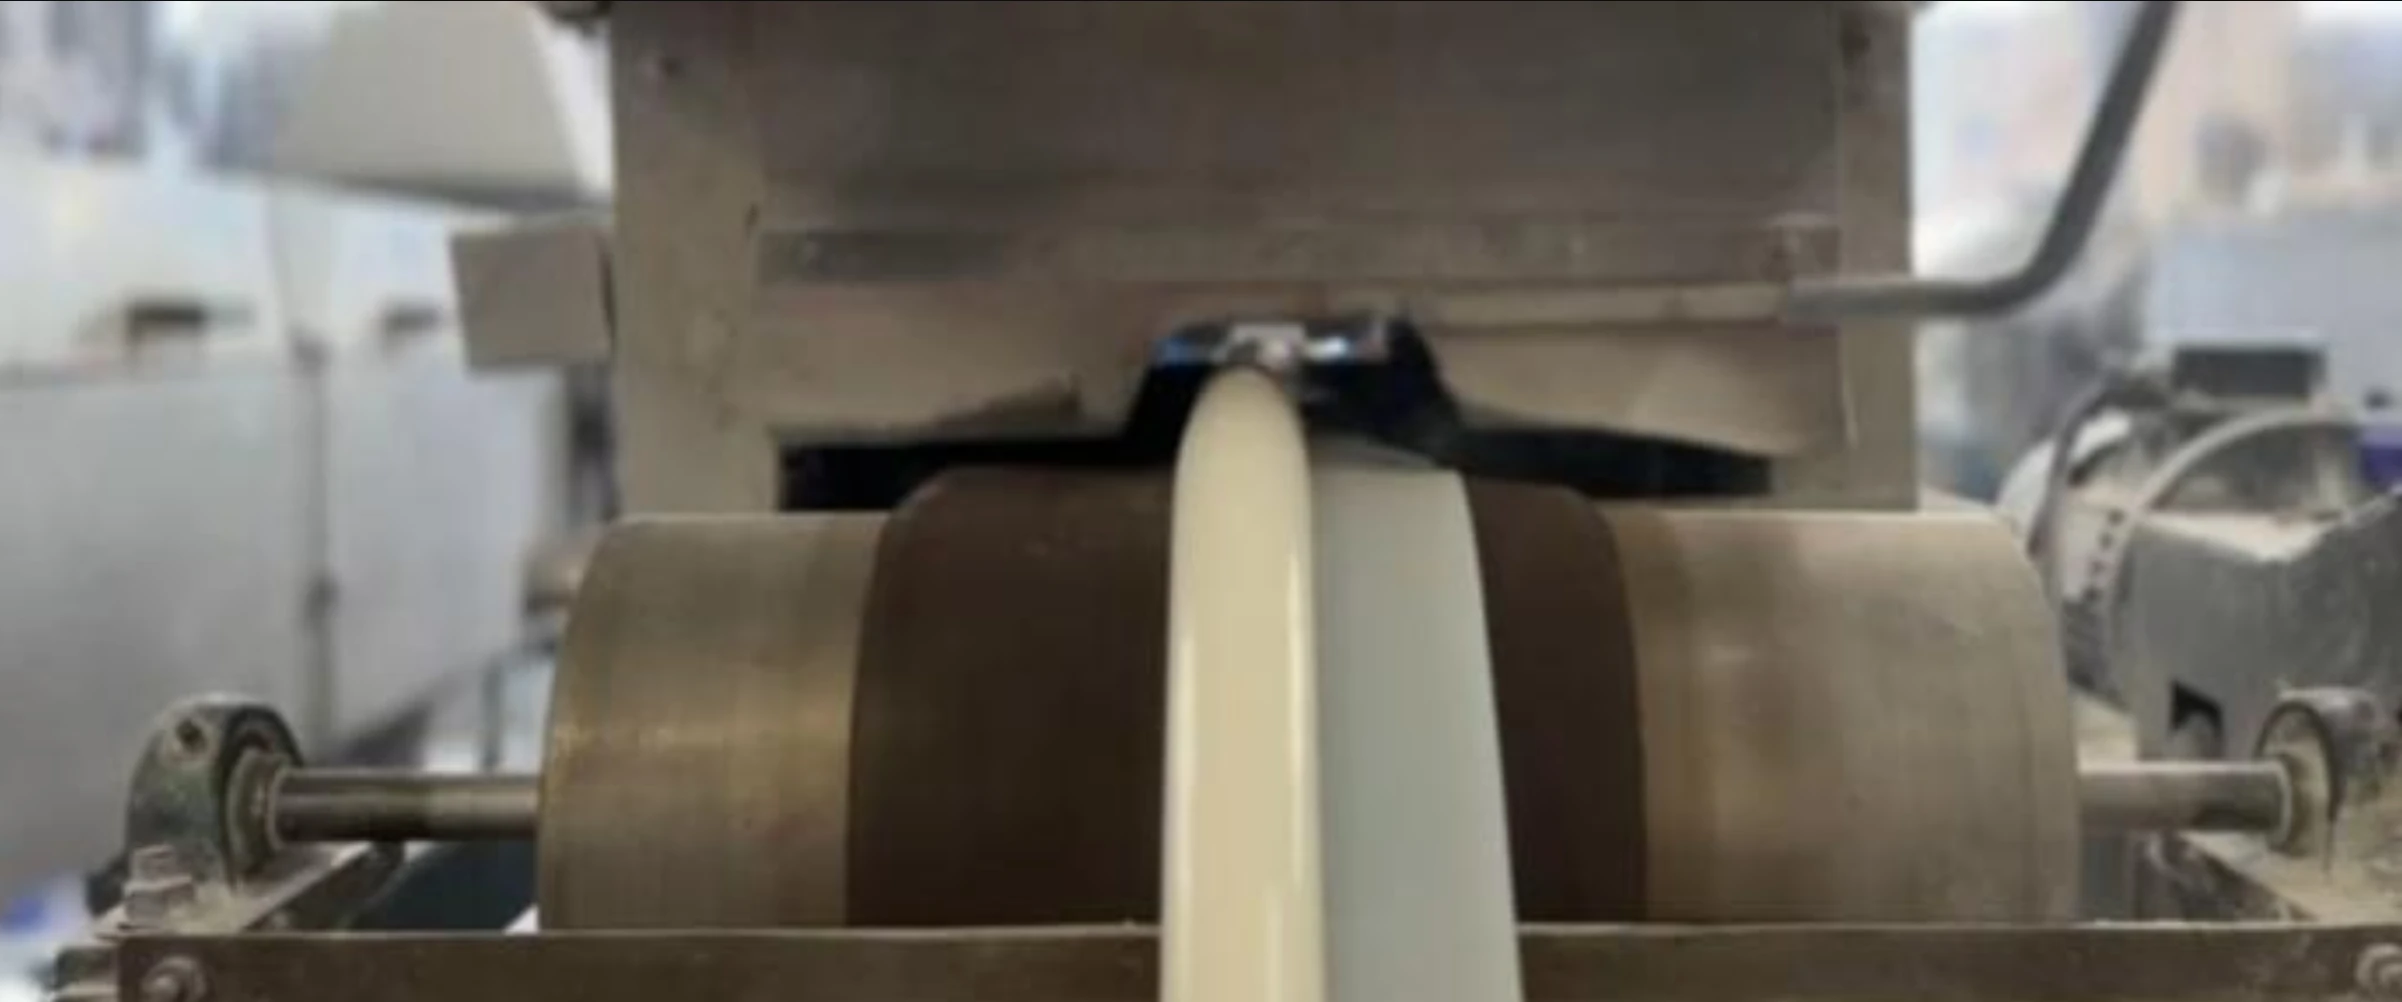
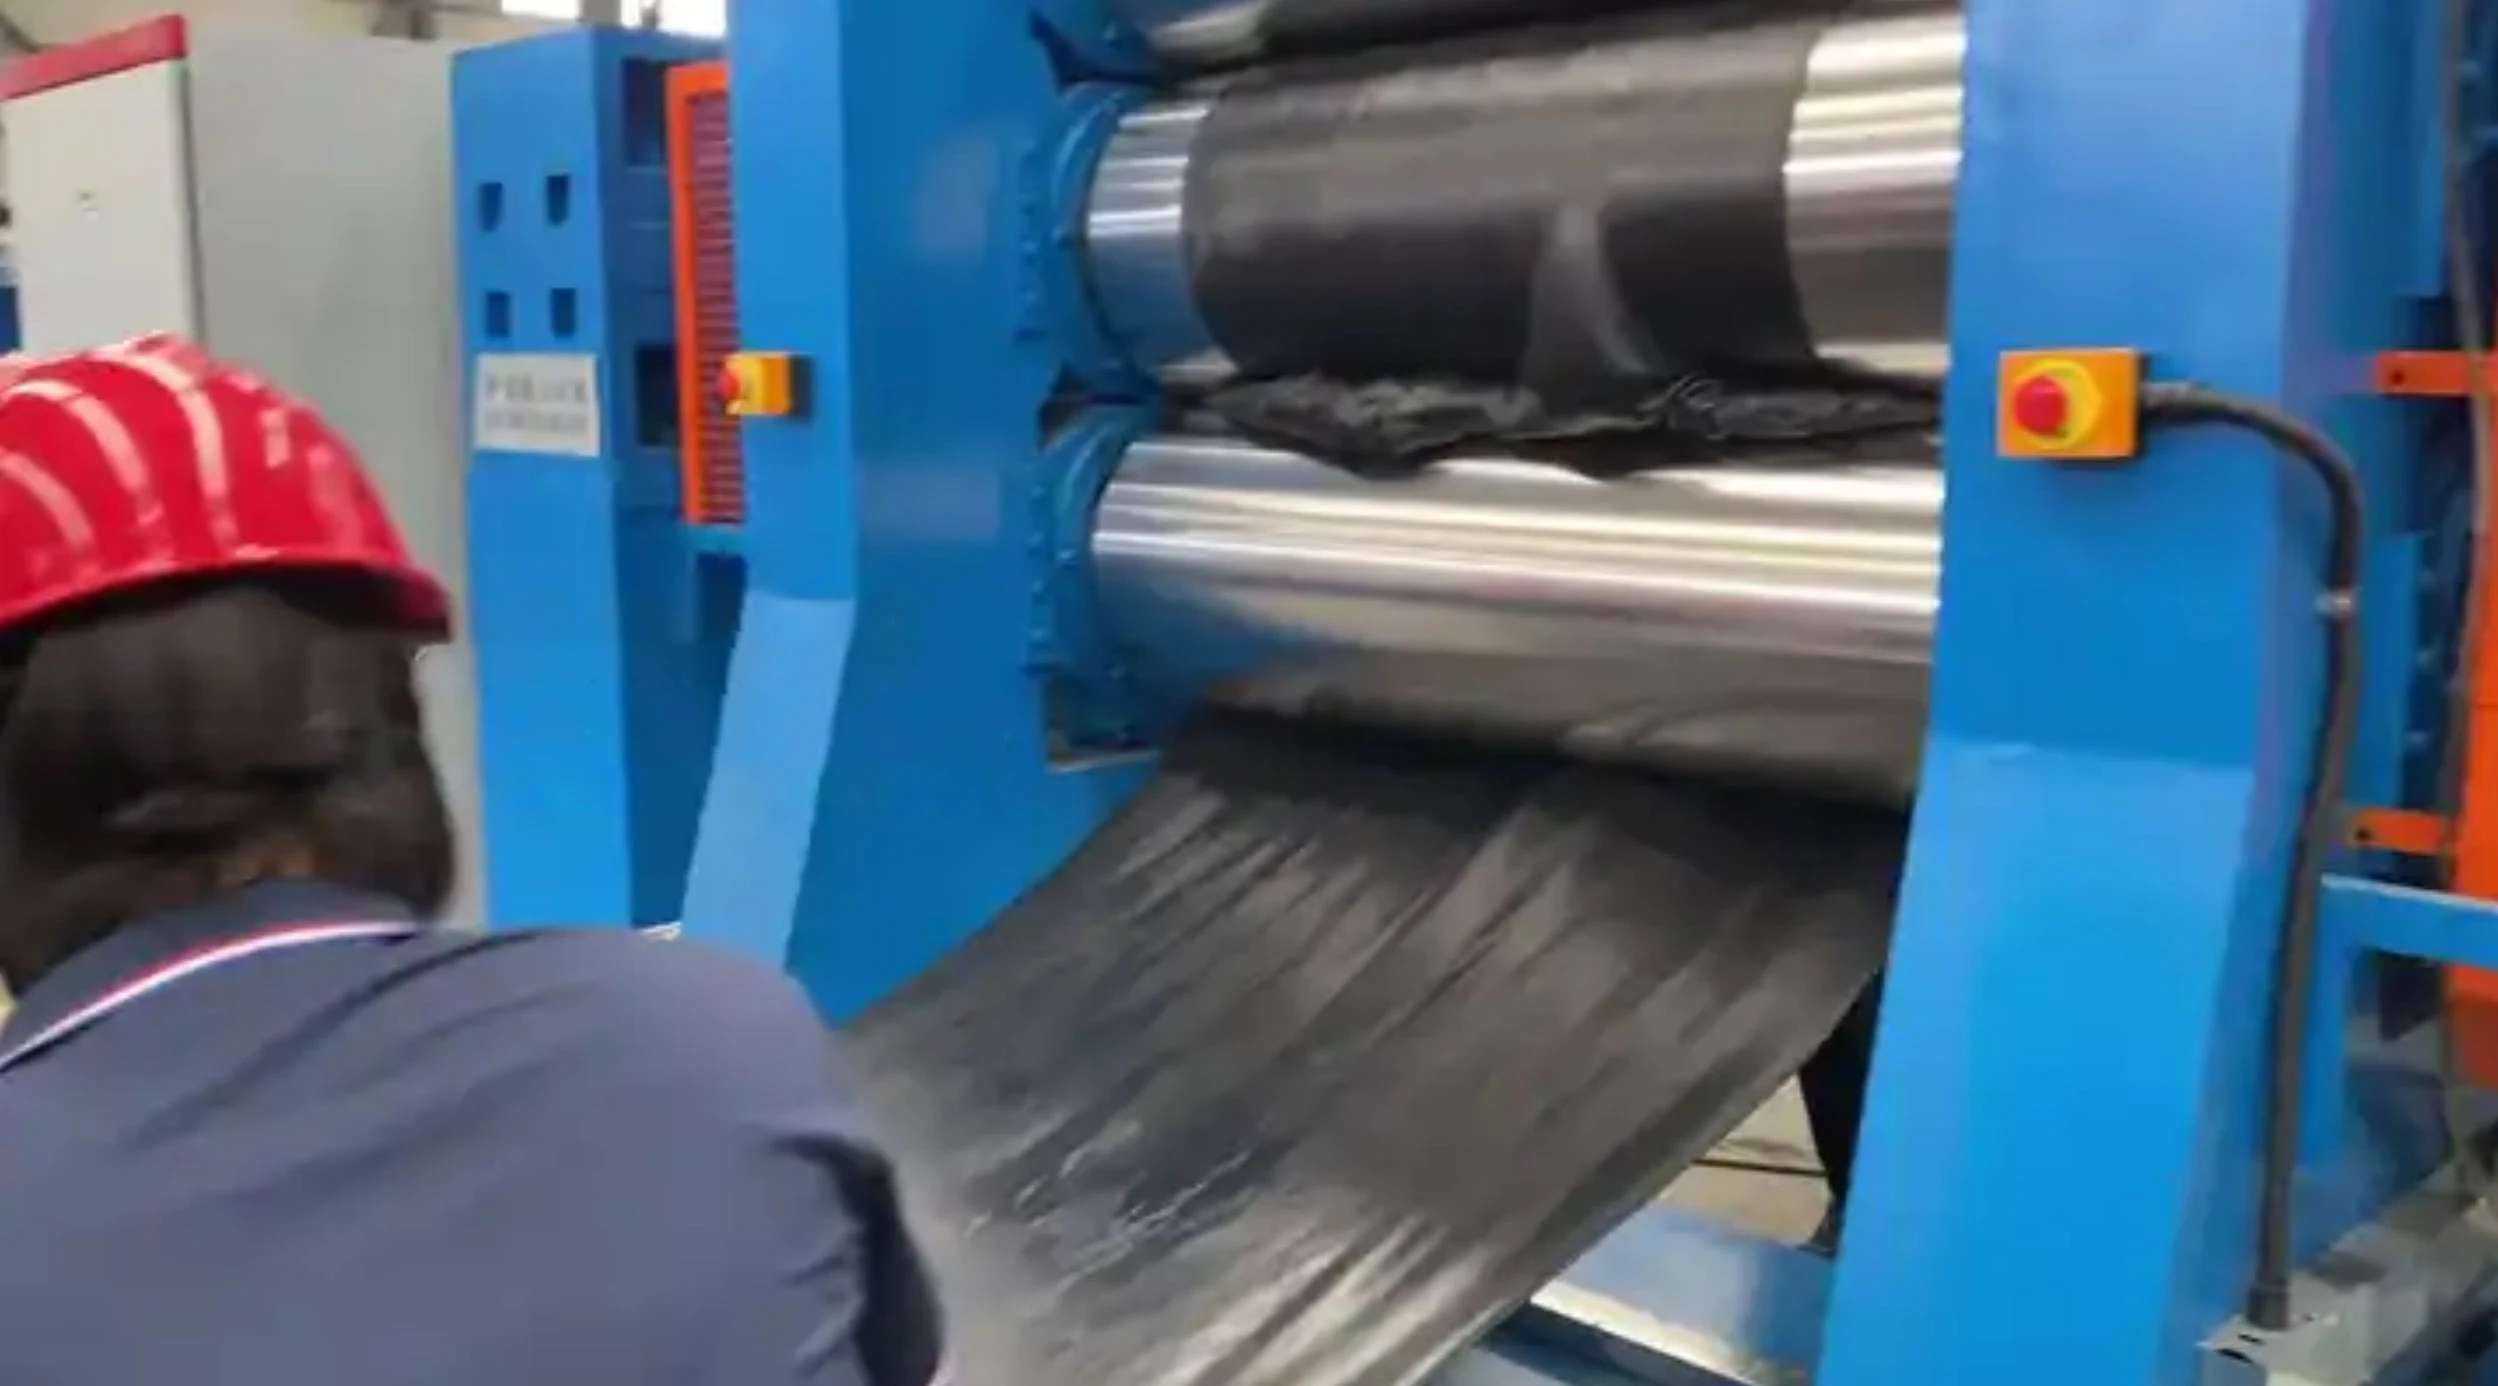
Calendering is a mechanical process used to produce thin, flat sheets of silicone rubber. In this process, a silicone compound (usually a high-consistency rubber, HCR, or a silicone gum stock) is passed through a series of heated rollers (calender rolls) to form a continuous sheet of uniform thickness. Calendering is commonly used to make silicone sheets, films, and fabrics (like silicone-coated fabrics or laminates). It is an older technique but still valuable for producing products like silicone sheets for industrial applications, medical-grade films, or reinforced silicone materials.
Equipment and Tooling
The primary equipment in calendering is the calender, which typically consists of two or more large, parallel rollers. The rollers can be smooth or patterned, and they are heated to maintain the silicone in a pliable state. A common setup is a two-roll calender (simply two rollers) or a four-roll calender (two pairs of rollers) which can improve control over the sheet thickness and surface finish. The silicone compound is fed into the nip (the gap) between the rollers, and the rollers compress and flatten it. The gap between the rollers determines the sheet thickness – it can be adjusted to produce sheets ranging from thin films (less than 1 mm) to thicker sheets (several millimeters). The rollers are often heated to around 150–200°C to keep the silicone above its melting point and to ensure a smooth, uniform sheet. After passing through the rollers, the sheet may be wound onto a roll or passed through a curing oven if it needs to be vulcanized. In some cases, the sheet is directly used (if it’s a cured compound), or it can be laminated to another material (like fabric or another polymer) in a subsequent step.
Process Steps
The calendering process typically follows these steps:
- Material Preparation: The silicone compound is prepared by mixing the base polymer with curing agents, pigments, and any additives. This is usually done in a mixer. The compound is then formed into a sheet or slab that can be fed into the calender. If a reinforced sheet is needed (for example, a fabric-reinforced silicone sheet), the fabric might be fed along with the compound.
- Feeding the Calender: The compound is placed onto the feed roller of the calender. In a four-roll calender, the compound might be fed between the first two rollers, then passed to the second set. The rollers rotate, pulling the material through the nip.
- Sheet Formation: As the material passes through the rollers, it is compressed and flattened into a sheet. The rollers’ gap and speed are precisely controlled to achieve the desired thickness and surface quality. The sheet exits the calender as a continuous flat web.
- Curing (if needed): If the silicone compound is not already cured (i.e. it’s a raw compound), the sheet may need to be vulcanized. This can be done in a continuous oven (like in extrusion) or by passing the sheet under heated rollers or through a hot press. In some cases, a two-step process is used: the sheet is calendered to the desired thickness, then later cured in a batch oven.
- Cooling and Winding: After curing (or if the sheet is already cured), the silicone sheet is cooled to room temperature. It is then wound onto a roll for storage or further processing. Winding must be done carefully to avoid wrinkles or stretching of the sheet.
- Post-Processing: The sheet may undergo additional operations such as cutting to size, printing, surface coating, or laminating. For example, a silicone sheet might be laminated to a fabric to make a reinforced gasket material, or it could be slit into narrower tapes.
Advantages and Considerations
Calendering offers several advantages for producing silicone sheets and films:
- Uniform Thickness: Calendering can produce very uniform sheets with tight thickness control. This is important for applications like gaskets or films where consistent thickness is critical.
- Large Area Production: It can produce wide sheets (up to several meters wide in some industrial calenders) continuously, which is ideal for large-area applications (like pond liners or industrial sheeting) or for feeding into other processes (like lamination).
- Material Strength: Calendered silicone sheets can have excellent mechanical properties. The process aligns the polymer chains to some degree and can result in strong, durable sheets. When reinforced (for example, with fiberglass or fabric), the tensile strength and tear resistance can be very high.
- Versatility: Calendering can handle a variety of compounds. It can process high-consistency rubbers, silicone compounds with fillers, and even silicone blends. By changing the roller surface (e.g. embossing or texturing rollers), one can also produce patterned sheets.
However, calendering has some limitations and considerations:
- Part Shape: Calendering is limited to flat sheets or films. It cannot produce 3D shapes or parts with thickness variations. Any complex features must be added later (e.g. by stamping or forming the sheet).
- Material and Equipment Constraints: The process requires the material to have the right rheology – it must be deformable under pressure but not too fluid. Highly filled or very stiff compounds can be difficult to calender. Additionally, calender equipment can be large and expensive, especially wide calenders for industrial production.
- Curing Requirements: If the compound is not pre-cured, an additional curing step is needed, which adds complexity. In some cases, calendering is done with a pre-cured (vulcanized) silicone stock to avoid this, but then the material cannot be further crosslinked.
- Surface Quality: Achieving a perfectly smooth surface can be challenging. Any imperfections on the rollers can transfer to the sheet. Also, air entrapment or contamination during calendering can cause defects in the sheet.
In summary, calendering is a valuable processing method for producing flat silicone products. It is commonly used in the rubber industry (including silicone) to make sheet materials that can be used directly or converted into final products. For applications requiring a flat, uniform sheet – whether it’s a medical-grade silicone film, an industrial gasket sheet, or a silicone-coated fabric – calendering provides an efficient way to manufacture large quantities of material with consistent properties.
Choosing the Right Processing Method
The choice of which silicone rubber processing method to use depends on many factors, including the part’s geometry, required precision, production volume, material properties, and cost constraints. Injection molding is the go-to method for high-volume, complex parts with tight tolerances, offering fast cycle times and excellent consistency. Compression molding is preferred for simpler shapes, large parts, or low-to-medium volumes where tooling cost is a concern. Transfer molding sits in between, useful for medium volumes and parts that are too complex for compression molding but don’t require the full investment of injection molding. Extrusion is ideal for long, continuous profiles, and calendering is best for flat sheets or films. Engineers and product designers must weigh these factors – for example, if a design requires a very thin, complex part with high precision, injection molding is likely the best choice despite higher tooling costs, whereas a large, simple part might be more economically produced by compression molding. By understanding the strengths and limitations of each processing method, manufacturers can select the most appropriate technique to optimize quality, productivity, and cost for their specific application.
Conclusion
Liquid Silicone Rubber (LSR) and other silicone rubbers can be processed in a variety of ways, each with its own advantages and use cases. Injection molding, compression molding, transfer molding, extrusion, and calendering are the primary methods, enabling the production of everything from intricate medical components to industrial seals and sheets. The choice of method should be guided by the part’s requirements and the production context. By leveraging the appropriate processing technique, manufacturers can take full advantage of silicone’s unique properties – flexibility, durability, temperature resistance, and biocompatibility – to create high-quality parts for a broad range of industries. As technology advances, these processes continue to evolve (with improvements in automation, material science, and new techniques like 3D printing), further expanding the possibilities for silicone rubber in product design and manufacturing.